PVC piping may be the most commonly used piping for plumbing, but copper piping is still heavily used within the industry. When comparing PVC pipe leak repairs with copper pipe leaks, copper piping is much more durable and longer lasting. Copper piping has a more extended history and reliable durability but is more expensive, whereas PVC pipes are cheaper and easier to use.
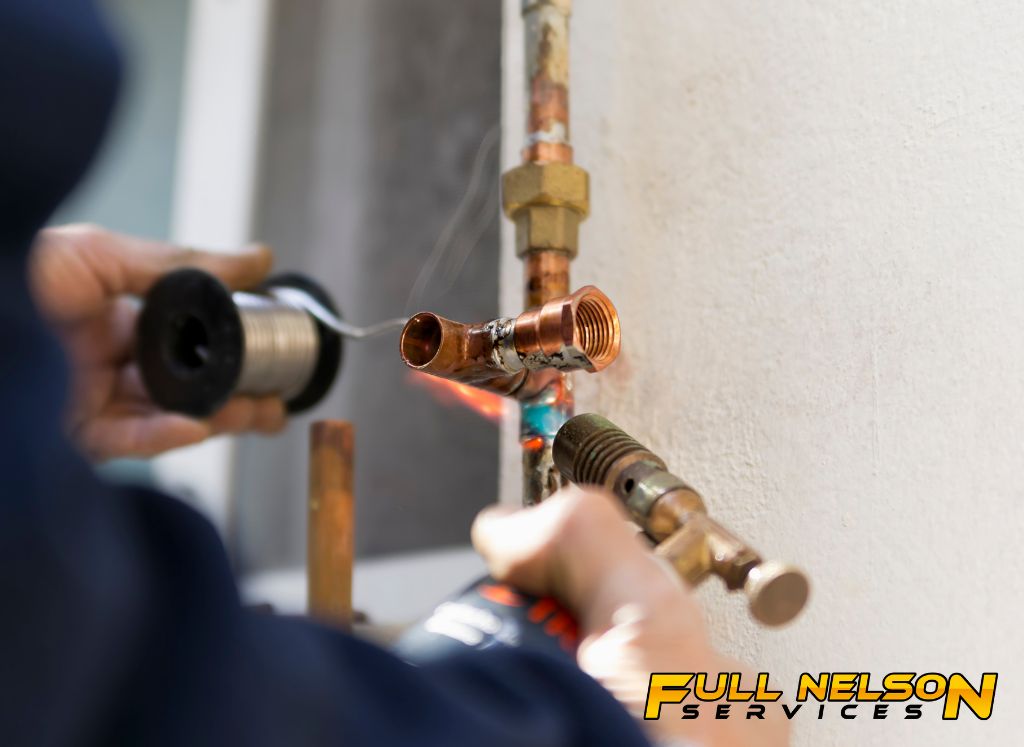
When it comes to copper piping for plumbing, the best way to secure joints, end pipes, and other copper piping is to solder the pipes together. Soldering is the joining of metal parts to form a bond. Soldering, or sweating copper pipes, is a technique used by plumbing professionals and homeowners familiar with DIY.
What is Copper Pipe Soldering?
Copper pipe soldering is the joining of a copper joint to a copper pipe. Solder is a highly malleable metal rod that will melt with high heat levels and cool rapidly. Because solder is a strong metal material, it can join metals together for a long-lasting and durable connection.
To solder copper pipes, you will need the following items:
- Torch (propane recommended)
- Sandpaper or Emery Cloth
- Wiring brush
- Flux
- Solder
- Copper Pipe
How to Solder Copper Pipes (DIY Style)
Soldering copper pipe joints is a relatively attainable task for the typical DIY homeowner. If you have the right tools and safety measures, soldering copper pipes for quick repair or replacement can be done without professional help.
Step 1: Measure and Cut
Copper piping itself is not very malleable, so taking the time to measure accurately will save you any future mistakes and redos. It’s recommended to use close-quarter cutters, which are designed to cut the copper piping as it rotates on the cutter.
Step 2: Clean and Prepare Your Pipe and Fitting
To secure a solid soldering joint, prep work is vital. Start by cleaning the cut end with a deburring tool or an emery cloth on the inside of the pipe. Then follow that with a wire brush tool on the outside of the pipe. The wire brush tool will scrape away the oxide layer and create a rough, scratched-up surface for the solder to stick to.
Step 3: Don’t Forget Flux
Flux is a critical step in the preparation. Flux is a compound that guides the solder into the copper piping joint, resulting in a stronger and sealed connection. When applying flux to a copper pipe for soldering, it’s safe to be generous and apply to both the inside of the fitting and the outside of the pipe.
Step 4: Bring On The Heat
Once the pipe has been cleaned and scratched and the flux has been applied, it’s time to start heating the copper pipe. Using a propane torch, start by applying the heat/flame to the bottom of the copper pipe. Once the copper pipe begins to glow on the bottom, start rotating the copper pipe or torch to heat the joint evenly.
Step 5: It’s Solder Time
As the copper pipe joint is being heated, moving the tip of the solder to the joint is recommended to see if the metal is hot enough. If the solder does not melt or slightly melts, move the solder and continue to apply heat to the copper pipe joint. When the solder is easily melting onto the joint is when the copper point is hot enough.
Once the solder is quickly melting, begin using the solder and the torch to apply the solder around the joint. If applied correctly, the solder creates a silver band around the joint, securing the two pieces together.
One thing to note is that too much solder can be applied to the joint, interfering with the pipe’s flow or making it look messy. Take your time and apply a flush and even coat of solder around the joint that is just enough to secure the connection and not create excess mess.
After ensuring your copper pipe joint is coated evenly with solder, you’re done!
Call Full Nelson Services for Pipe Leak Repairs
If you’re uncomfortable soldering copper piping or want your pipe leaks repaired professionally, call Full Nelson Services. Every Full Nelson Service technician has years of experience and up-to-date industry knowledge to perform the ideal pipe leak repair. Get your pipes repaired and flowing with peace of mind and friendly service.


